Obnoxiously Cute Cookies!

This week the OHBI gals were in the kitchen cookin' up something sweet! Confetti Cookie Cups with Whipped Cream Cheese Filling was on the menu y'all and these little cuties were as tasty as they sound. We enlisted the help of one of our favorite gal pals Brittney Carman. If you're anything like the three of us sometimes you just can’t decide if you want to eat cookies or cheesecake. Lucky for you, we combined the two to create an obnoxiously cute, surprisingly light, and totally delicious treat! Did we mention that sprinkles are involved? Give these super fun desserts a try and let us know what you think!
We snagged this recipe inspiration from Sally’s Baking Addiction and Life in the Lofthouse . Make sure to check these two blogs out if you are ever in need of some tasty treats!
Let's get started y'all! A few key tips:
This recipe makes about 2 dozen cookie cups so be prepared to get your fill of these magical flower shaped goodies! The cookie dough and filling will need at least an hour to chill, so plan ahead!
KITCHEN SUPPLIES
- Stand mixer (or a hand mixer!)
- Measuring cups and spoons.
- Rubber spatula
- Rolling pin (we didn’t have one handy, so we wrapped a bottle of booze in plastic wrap and used that! Desperate times call for desperate measures, right? The OHBI way!)
- Flower cookie cutter
- MINI cupcake tins (your cookies won’t have that cute flower shape if you use a standard size cupcake tin!)
- Cooling rack
- Piping bag and large decorating tip (or a plastic sandwich bag with the corner snipped off)
- Gel food coloring (optional, but recommended for added fun ;) )
INGREDIENTS
Cookie Dough:
- 2 ¼ cups all-purpose flour (plus extra for dusting work surfaces to avoid sticking)
- ½ teaspoon baking powder
- ½ teaspoon salt
- ¾ cup room temperature butter
- 1 egg
- 2 teaspoons vanilla extract
- ½ cup sprinkles! We used “jimmies” (sometimes called “ice cream sprinkles”). Non-pareils (the crunchy round sprinkles) stay crunchy in the dough even after it’s baked, and sometimes the color can bleed.
No-Bake Cheesecake Filling:
- 8 ounces room temperature cream cheese
- 1 cup powdered sugar, sifted
- 1 cup heavy whipping cream, whipped
- 1 teaspoon vanilla extract
- Zest of 1 lemon
LET’S BAKE!
1. In the bowl of a stand mixer, beat the butter until its nice and smooth. If you're not a pro like our gal Brittney, then you can use a hand mixer if you don’t have a stand mixer handy!
2. Add the sugar and mix for a few minutes until it’s light and fluffy.
3. Add the vanilla extract and egg. You may need to scrape down the sides of the bowl at this point to make sure everything is incorporated evenly.
4. Turn the mixer speed to the lowest setting and slowly add the salt, baking soda, and flour (high mixer speeds + flour = huge mess!)
5. Time to add the sprinkles! You may need to use a spatula to help get all those sprinkles mixed in (some of ours just wanted to hang out at the bottom of the bowl when we relied solely on the KitchenAid).
6. Chill the dough, covered, in the fridge for about an hour or overnight. If you are chilling your dough for more than a couple of hours, you may need to let the dough sit out for several minutes so that it’s easier to roll out.
7. Preheat the oven to 350 degrees F and spray cooking spray (we used PAM for Baking) on your mini cupcake pans to avoid sticking.
8. Sprinkle flour on your work surface so the cookie dough will not stick as you roll it out. Roll out the dough to about ¼ inch thickness.
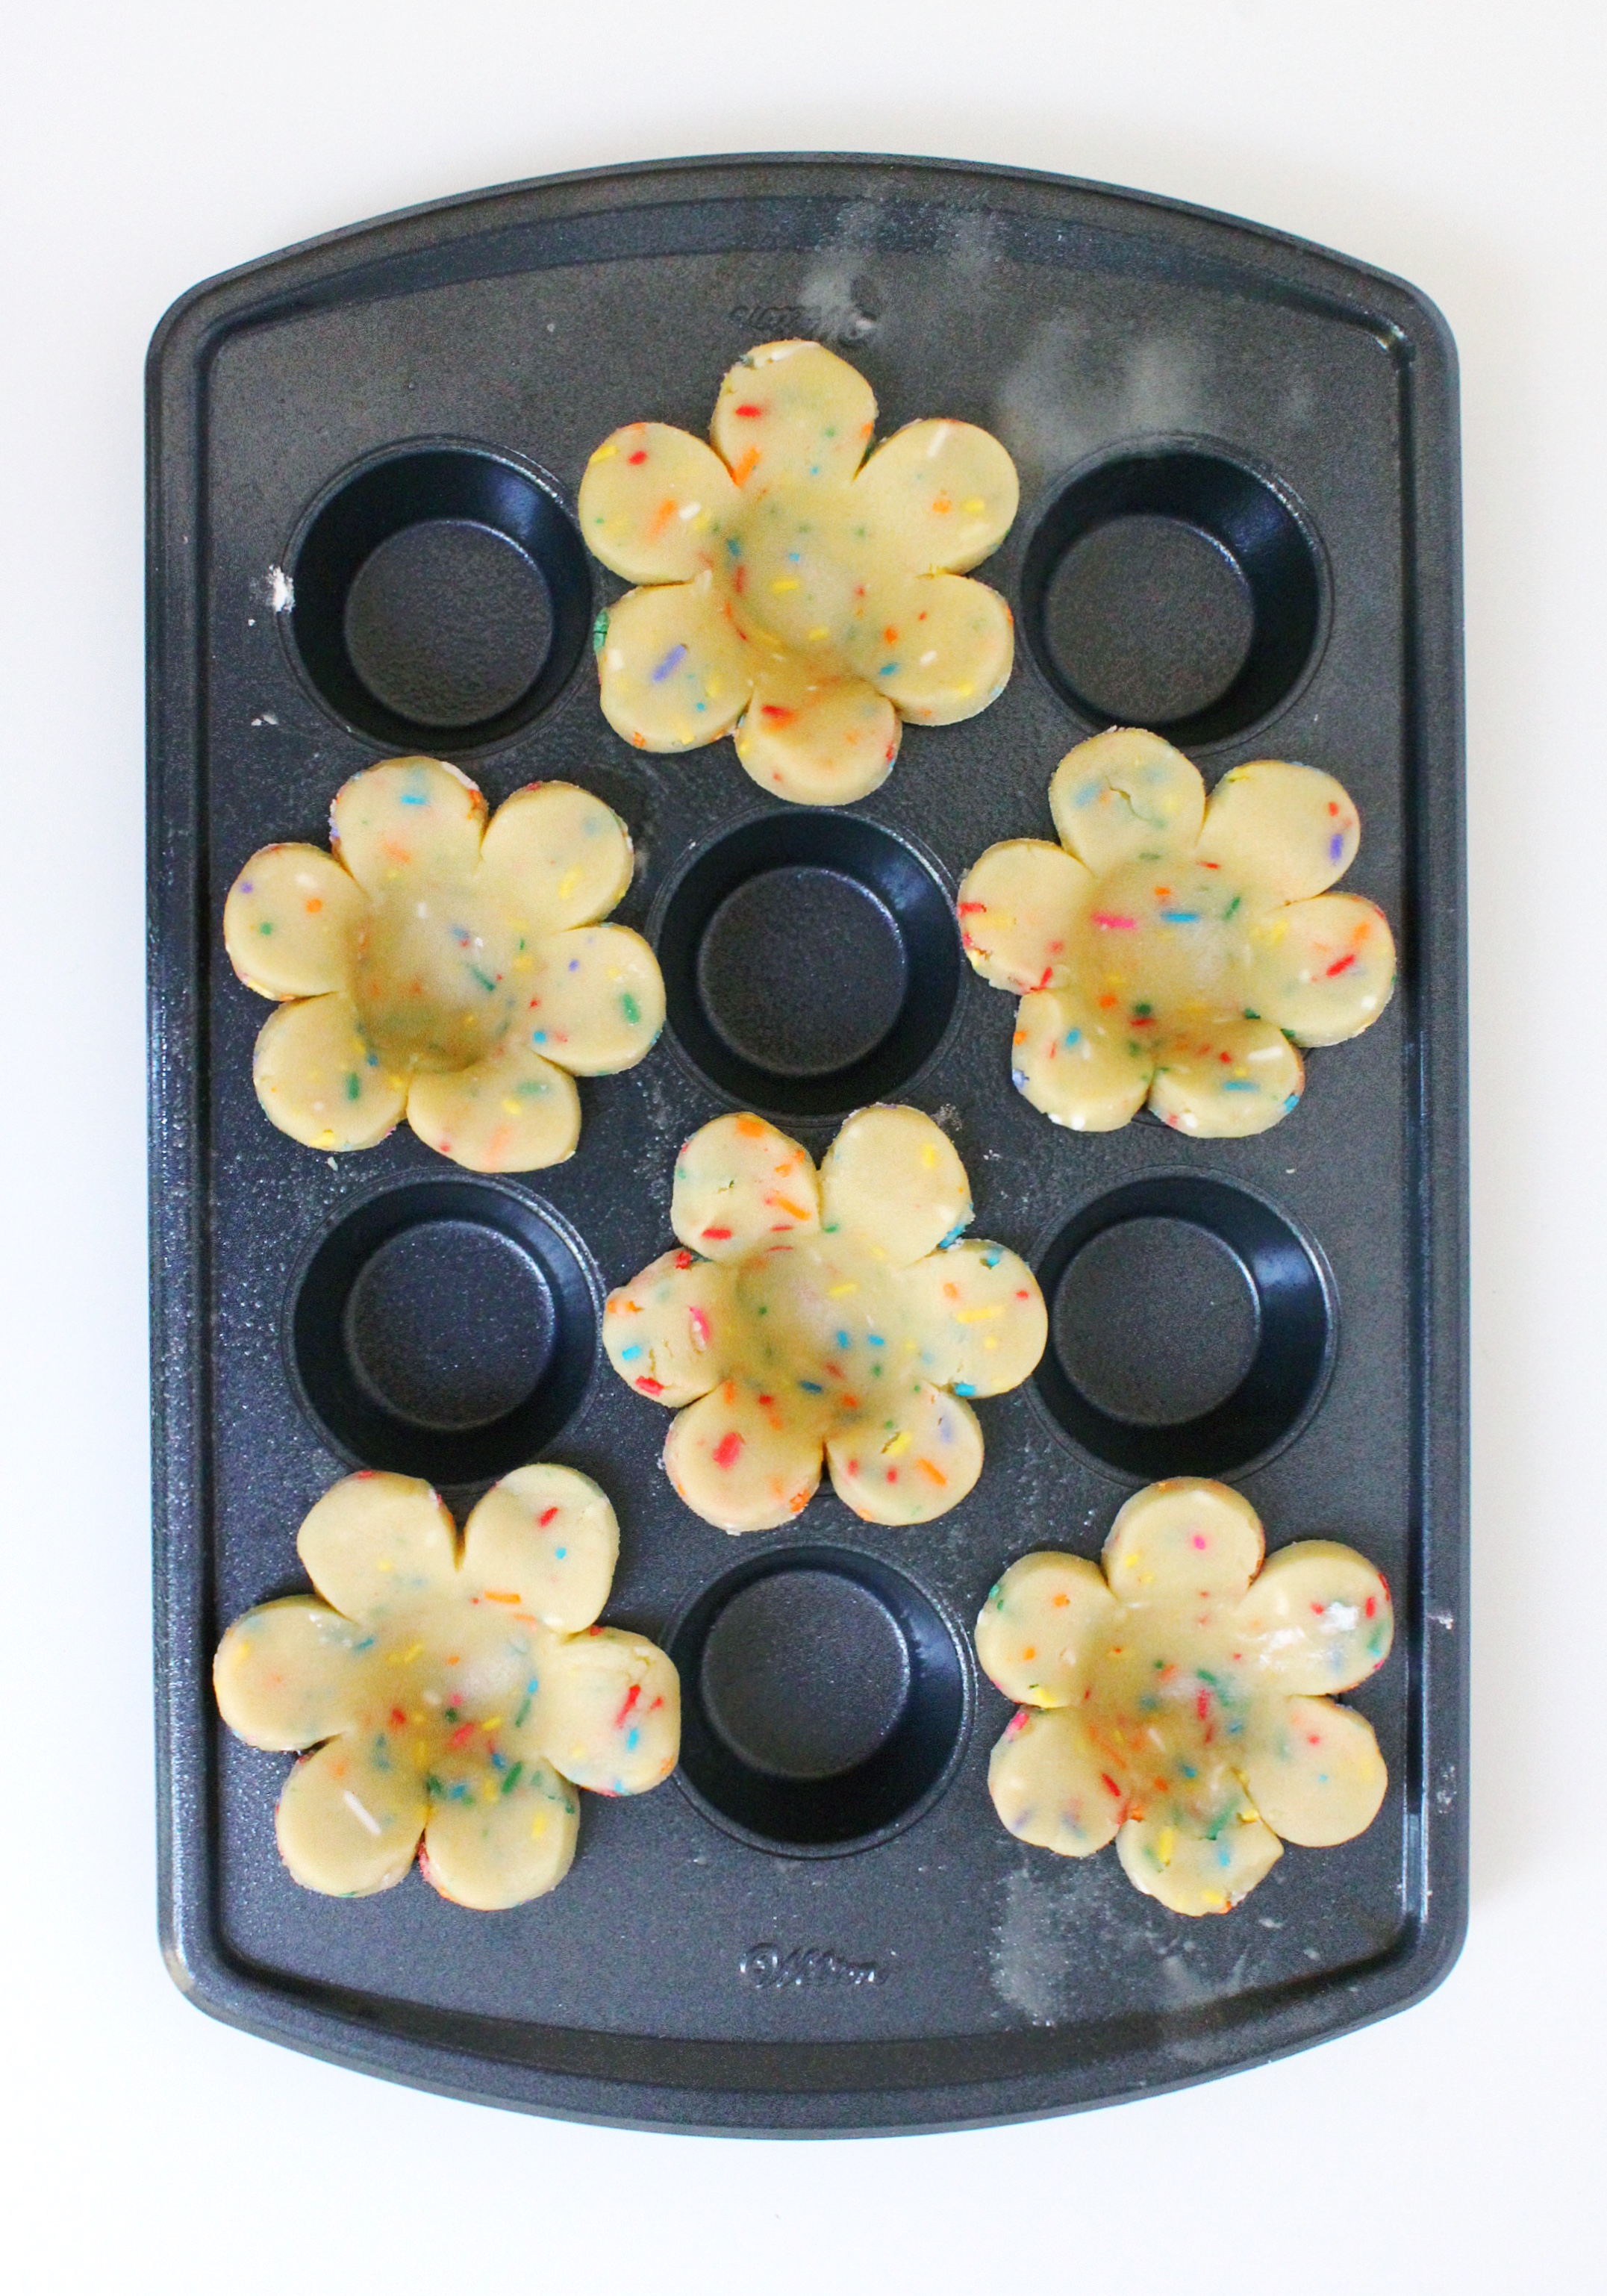
9. Use a flower cookie cutter to cut out the dough and gently place the flower dough cutouts in alternating cups of the mini cupcake pan so that the petals are not touching each other (see photo for reference).
10. Bake until the edges are very lightly browned, about 12 minutes. Rotate the pans halfway through baking time to be sure the cookies get evenly baked.
11. Let cookies cool in the tins for about 5 to 10 minutes before removing and placing on cooling rack to finish cooling.
ON TO THE FILLING!
1. Whip up that whipping cream! It whips up more quickly if your mixing bowl and whisk attachment are chilled. Once you’ve got medium stiff peaks, transfer the whipped cream to another bowl and place it in the fridge.
2. Beat the cream cheese in the mixing bowl with the paddle attachment until it’s looking nice and smooth. This is much easier to do if the cream cheese is at room temperature!
3. Add the vanilla and lemon zest and mix until combined.
4. Now turn down your mixer speed and add the sifted powdered sugar. Mix it up! Scrape down the sides of the bowl if needed.
5. Take the whipped cream out of the fridge and gently fold it into the cream cheese mixture. Mmm…light fluffy goodness!
6. If you like your sweet treats colorful, add a little bit of gel food coloring! It only takes a tiny bit to get a pretty pastel color. We divided our filling into 2 bowls so we could use 2 colors at the same time in our piping bag for a fun swirled effect!
7. Let the cream cheese filling chill in the fridge for at least one hour.
8. Now that the filling is chilled and the cookie cups are fully cooled, it’s time to decorate! Fill a piping bag fitted with a decorating tip (we used a large round tip) with the cheesecake filling and squeeze some filling into each cookie cup. If you don’t have a piping bag, you can use a Ziploc bag and just snip the corner off!
9. Adorn the filled cookie cups with some sprinkles and enjoy!
OHBI rarely experiences the baking side of the kitchen so this week was an adventure! We were so glad to welcome Brittney into the OHBI team to give us all of the laughs, baking knowlegdge, and help to get our sweet treat fix! We hope you're feeling inspired to try something new this week. If we’re being honest our sweet treat fix is never fully satisfied so we’d love for you to tell us what some of your favorite desserts are in the comments and we’ll live vicariously through you!
Give a round of applause to Brittney Carman for being a contributing author and content creator on this post! Here she is below living the dream at the Museum of Ice Cream with her amazingly pink hair. We have all the heart eyes for her!
xoxo
S, A & B


